
Guidelines are changing! More experts are now advising us to protect ourselves with a mask while in public, but are also urging us NOT to hoard professional masks needed by our heroes, the health care professionals. At my house, we had a couple of filter masks in the garage from a drywall project, but I wouldn't want to buy more (even if we could) when health care providers, police, firefighters, etc. need them so desperately.
Scrolling posts on how to sew a DIY mask, I wondered if fabric was a good protector and found this article about DIY mask materials.

Notice that a vacuum cleaner bag is nearly as effective as a surgical mask? Well, I'm not very patient or skilled with a sewing machine. But I remembered a shelf in our store room -- a package of vacuum cleaner bags that fit the old clunker we had way back B.D. (before Dyson).
So, I grabbed a bunch of things and set to work.

Additional items you need: Scissors, cleaning supplies, ziploc bag to store masks until used
Step 1: Make sure you have a clean workspace and tools. Wipe down your work surface with disinfectant, wash your hands and your scissors. Wipe down the outside of duct tape roll with disinfectant and keep your wipes handy to repeat again later.

Step 2: Cut the glued ends from the vacuum bag, then find the side seam and cut along it to make a flat vacuum bag "sheet".

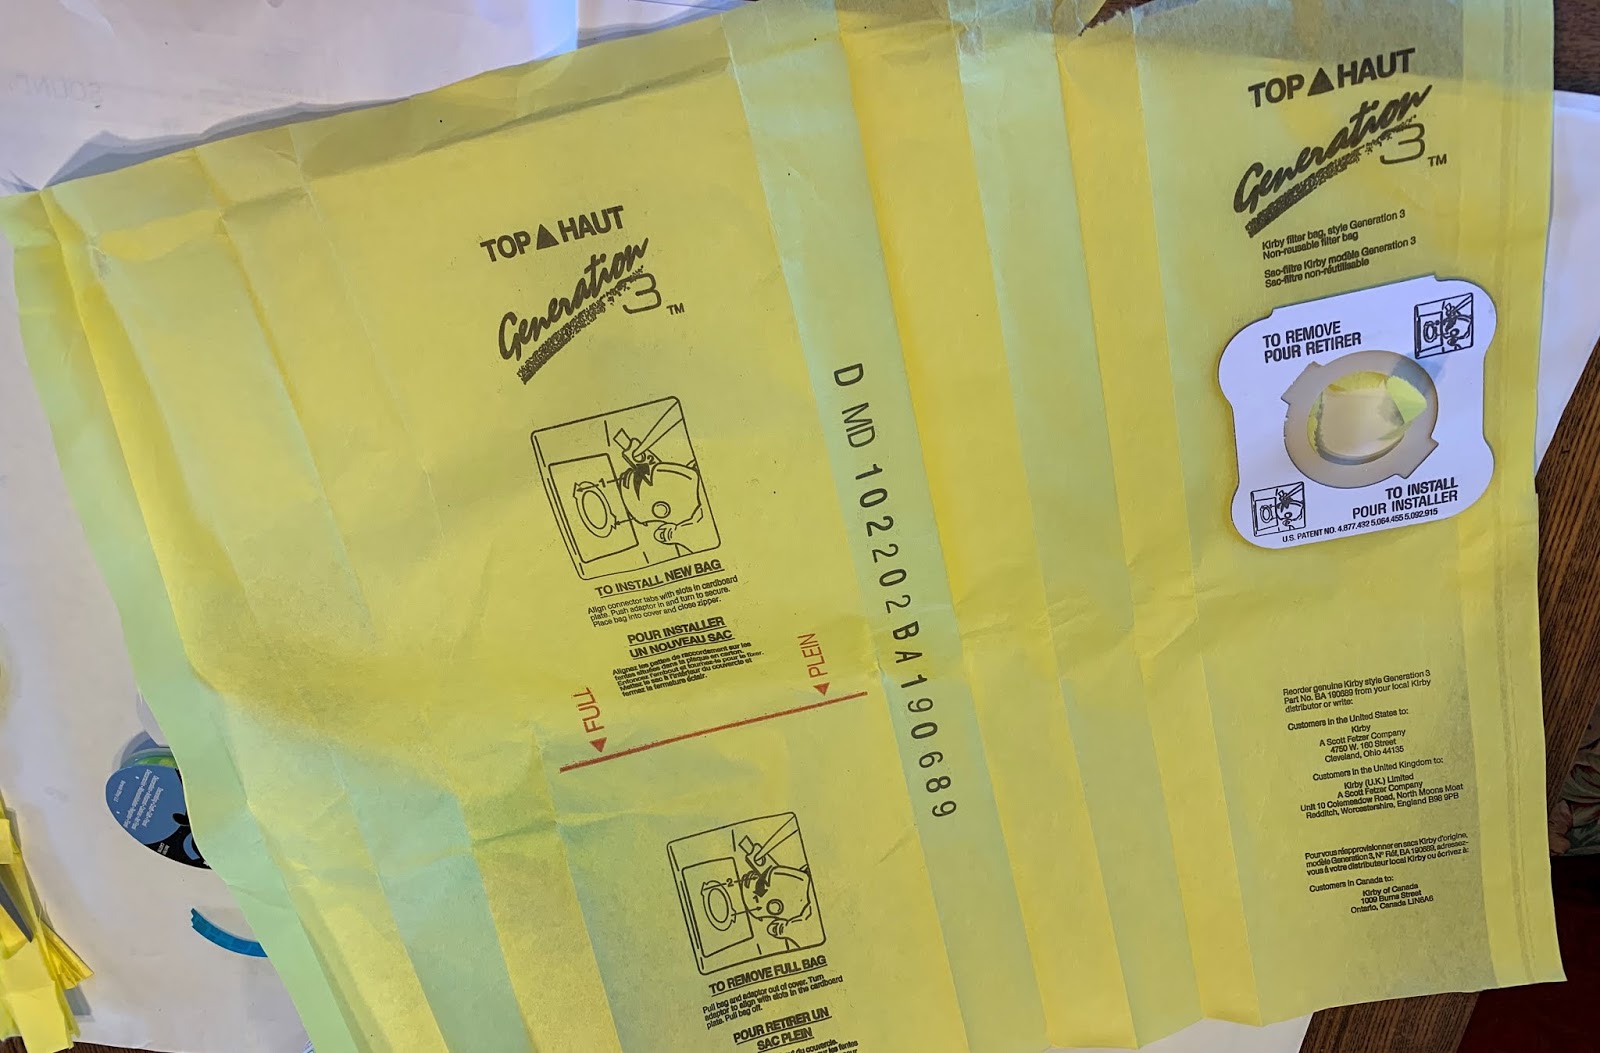
On the first round, I was able to make 7 adult masks from one bag, after discarding the area that connects to the hose. On the second round, I made 3 child-size masks and 5 adult.

Step 4: Make pleats across the width (long side) of your mask. Try making one fold of about 3/4", then fold the other way with about 1/2", then 3/4" and another 1/2" so on, so you end up with a "pleated" strip of material. Mine started at 6" tall and ended up about 2 1/2" tall after pleating.


Step 5: Cut a piece of duct tape about as long as the finished (pleated) end of your mask. Lay down the piece of tape, sticky side up. Then and lay the edge of the mask to cover about 1/2" of tape. Make sure the tape covers all of the pleats at the end. If the tape is a little too long, trim the edges so it is exactly the same as the pleated short edge of the mask.

Step 6: Cut a length of ribbon or twine about 12" long. Lay your ribbon or twine across the top of the pleats, then fold the duct tape over it. Press hard to make sure both sides are stuck. (I will talk more in a minute about elastic or rubber bands)

Keep going to see more tips and the final product!!!

Don't have ribbon or twine? On my second round of this project, I used rubber bands on one mask. These are easy if you have the right size but not adjustable. If you want to use rubber bands, use the smallest ones you have that will fit across the end of the mask.

Got a bungee cord? I also tried cutting open a small bungee cord from the garage, and got quite a few elastics from it. After trying several methods, I think long pointed scissors worked best to remove the cover, but an exacto knife will do. It took awhile, and there was a mess from all the threads. These elastics (shown below) had to be tripled and were a little more difficult to use, but hey, the point is to use what you have in the house. Give me a comment if you think I need to add photos on how to use the elastics from bungee cords.


Wear your masks! When someone wears the mask, they would stretch out the pleats in the middle to make it fit over the mouth and nose properly. While I have seen references advising vacuum bag material is difficult to breathe through, I did not find it any more difficult than a 3M mask that you buy at Lowe's for drywall dust, etc. NOTE: The fit in this photo needs to be adjusted so it is tighter on the face at the top of the mask -- a good reason to use adjustable ties if you can.

What do you think? Below are the results -- each photo shows masks made from one vacuum bag and some things from around the house. I will be storing these in a ziploc bag so they're clean and ready to use if we need them.
Please leave a comment if you have questions or improvements!
 |
| Round 1 -- 7 Adult masks |
 |
| Round 2 -- 3 child masks and 5 adult masks |
Disclaimer: The best protection from COVID-19 is NOT to expose yourself -- stay indoors if you can. If you must go out, use any DIY mask with common sense. I make no personal guarantees or warranties regarding effectiveness. These are made from paper and therefore should be discarded after exposure to virus.
Comments
Post a Comment